
Tips and Tricks: DIY TTRPG zines and booklet props
- Step 0: How making zines/booklets helps your kids
- Step 1: Get some ideas
- Step 2: Map it out
- Step 3: Draw, decorate, write, and create!
- Step 3.5 (optional): Scan to make copies
- Step 4: Assembly
Step 0: How making zines and booklets for games helps kids
First, I want to talk about two big skills that zine or booklet making helps kids to practice – there are certainly many more, but I want to highlight the two that we engaged with the most because I want to encourage making these WITH kids.
Fine motor skills and creativity
Making your own zine or booklet works on crafting skills that help kids practice fine motor control with cutting, gluing, and drawing in addition to being a cool creative exercise. Depending on the route you want to go, this could involve cutting and pasting pictures from magazines or encouraging your kid to draw their pictures to illustrate the booklet.
Reading and writing
Making zines and booklets can also help with getting kids interested in reading and with wanting to write. It shows them how books are made, and like in the restaurant menu activity with my kid, helped us practice writing in a fun way. My kid has wanted to make multiple booklets after the first one and likes reading through them during games or at bedtime… and they are really proud and excited to read a book that they wrote despite not wanting to read the material at school. This makes reading and writing way more interesting, so my kid actually does it and enjoys practicing these skills.
Step 1: Get some ideas for your zine or booklet
Before we start making our booklet or zine, think about why you want to make it and what you want to make! You could be making a little mini game, creating a prop for a character being played, or making a quest item for within the game. Here’s a list of some of my ideas to help get you started; these ideas range from tools for the game to character-specific items that are just for fun and flavor:
- Summary booklet of the game rules
- Storybook style game adventure
- Spell book for a wizard that helps with tracking
- Notebook for an inventor character
- Memoir for a bard
- Logbook for your party’s adventures
- Menu for an in-game restaurant
- Magical book quest item with coded text
- List of potential magical artifacts
- Portal with each page leading to a different dimension
Step 2: Map out your zine or booklet before making it
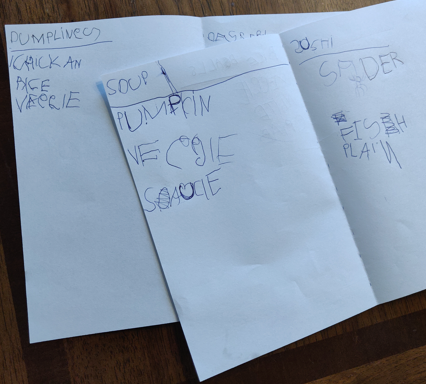
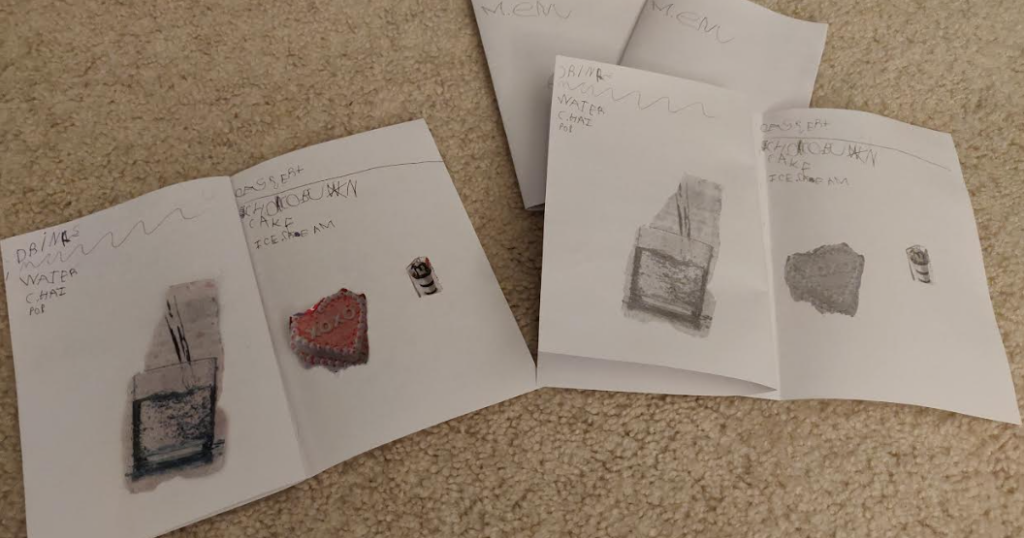
Now, you want to plan your little tome out before you start assembling it so you make sure you have enough pages to fully realize your idea. If you’re just folding pages in half then writing on them, that’s pretty easy to estimate how many pages you’ll need and then simply fold the paper in half. For this menu that kiddo and I are in the middle of making, we wanted a front and back cover (2 sides) and 6 internal panels to write on, so we folded 2 pieces of paper to create a total of 8 sides that we then drew on. This didn’t require much planning, but the small planning it did involve helped kiddo to practice thinking ahead for projects.
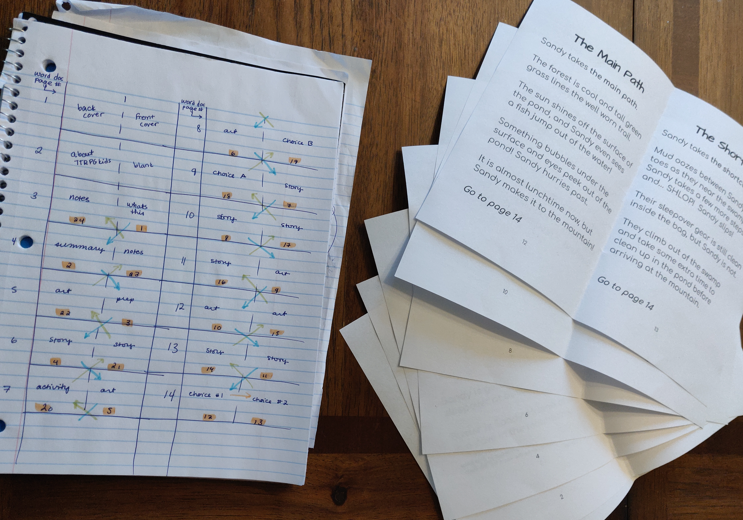
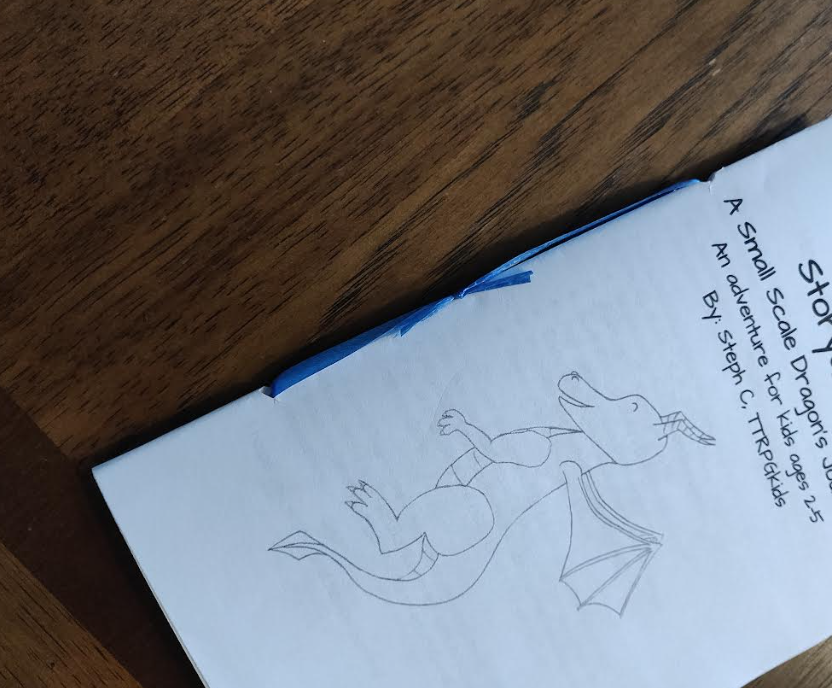
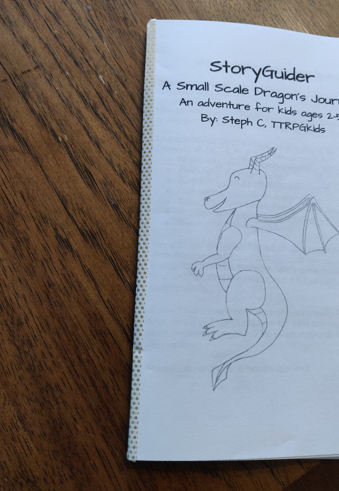
If you’re printing it on a home printer, like I did with this one for a StoryGuider zine prototype, you may need to plan a bit more to sort of zig zag the way you order the pages in your word doc so they print and fold properly. To plan this out, I determined that I needed a front and back outer and inner covers (4 pages) with blank sides internally and then 24 internal pages. That means that I need 28/4 = 7 pages of paper printed front and back if I’m folding them down the middle like this:
To plan this, out, I drew boxes on a separate sheet of paper ahead of time and numbered them/drew arrows showing the sequence that I needed so I could make sure it would be in the proper order when assembled and folded. You can also do this by folding blank paper ahead of time and numbering the blank pages (it can be a lot easier to visualize) so you can see them and move them around when arranging your word doc.
Step 3: Draw, decorate, write, and create!
Now is the part that your kid will probably enjoy the most, which is getting to fill the insides of your zine or booklet!
You can populate your creation any way that you want by using mediums like:
- Collage from cut out magazines
- Writing or drawing with 2D supplies
- Gluing in sequins, pip cleaners, etc.
- Pop up paper art
- Taking pictures and uploading them to a digital file
- Using scrapbooking supplies and washi tape
- STICKERS
…. and a lot more!
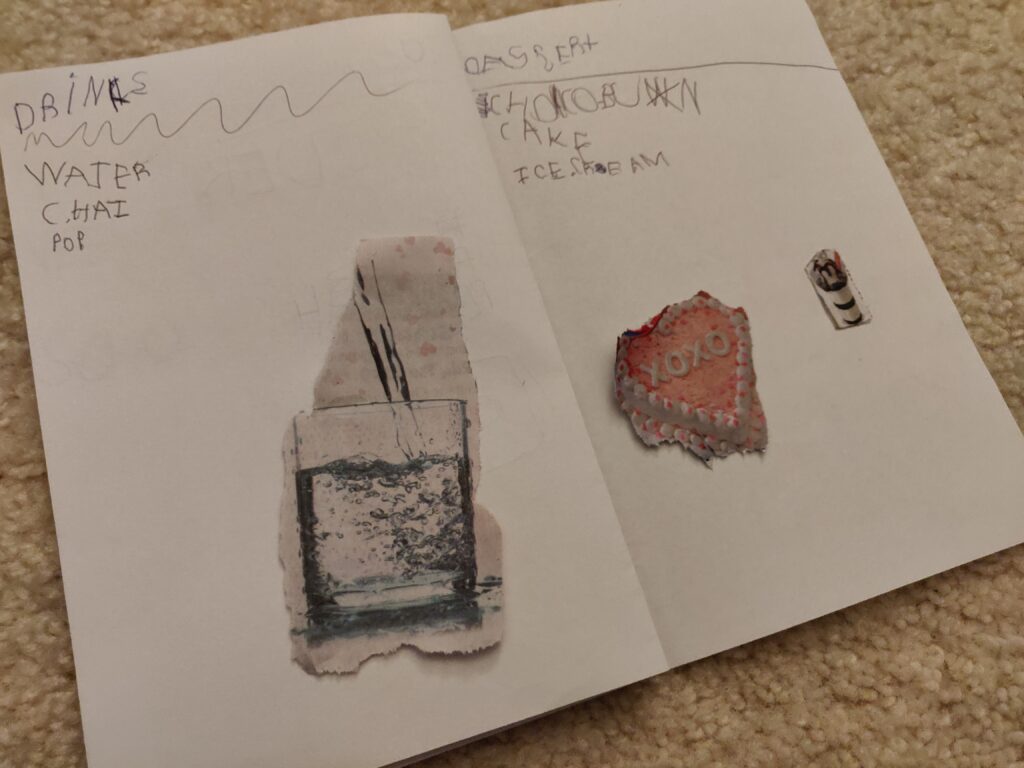
It doesn’t have to be 2D, and using 3D mediums can give your zine or booklet a cool look. For example, the title image in Mystery Snacks comes from a 3D medium. Kiddo and I used bits and pieces of different snack foods to make a question mark, took a photo of it, filtered the photo to get the colors how I wanted, and then added it to my game – it was a 3D medium that I converted to 2D to give it a cool look, and it was really easy to make, plus it was a good find motor skills and shape matching for kiddo (with a treat at the end since they got to eat the snacks).

You can also permanently leave the 3D medium in the booklet instead of taking a photo of it – just like with scrapbooking, you can leave objects in your zine or booklet to make them interesting and more tactile.
Step 3.5 (optional): Scan to make copies
This is entirely optional, but if you want to make multiple copies of your zine/booklet for several players or to hand out to people, you can now scan them and at home or through a printer like Mixam (not a paid promo, they’re just who I typically use and they’ve had good quality).
Scan each page or take a photo of it with a camera and save the images on your computer or other device.
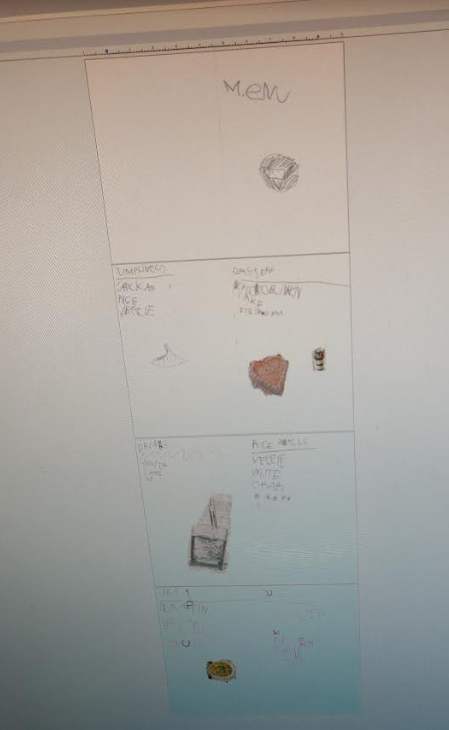
If you’re printing at home, assemble the images into a mapped out word doc, like I did in Step 2 for the StoryGuider zine, and print with your home printer like we did for kiddo’s restaurant menu.
Original with pasted pictures from magazines:
Scanned to computer and dropped into word doc:
Original (left) and printed copies (right):
If you’re printing with a service like Mixam, many will have you upload each individual page (so you don’t always have to map it out in that zigzag pattern for home printing), but make sure you size your photos properly for their templates – each printer has different sizing requirements, so just make sure that you’ve clipped your photos to match what they need. If you print through a service… you’re also all done! No need to do Step 4… just wait for your zine/booklet to arrive already assembled!
Step 4: Assemble your zine or booklet
Now it’s time to join all your pages together!
There are a lot of different methods that you can use with varying complexity that can involve sewing and gluing pages, creating binding, etc.
For this, I’m going to keep it simple by using what’s called a saddle stitch binding with either staples or some kind of string or ribbon. You can also finish this with something like washi tape or decorative paper.
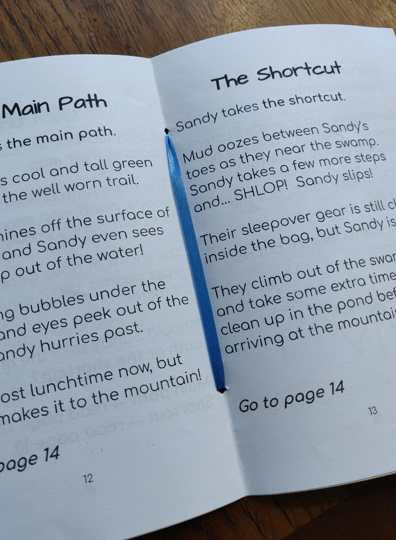
To join with staples, get all your pages in order, fold them in half together to create a crease in your booklet, then open your stapler and staple the center pages down the middle. To join with ribbon or string, you’re going to do roughly the same thing except instead of stapling them together, you’ll punch two small holes down the crease and thread them with string or ribbon, like I’ve done here:
If you’d like to finish the spine add some decoration, you can also add a bit of washi tape or glue a strip of decorative paper on it to cover up the staples or string.
And… there we have our booklets!
I hope this gave you some ideas to try out with your games at home and sparks some cool crafts to do with your kids! Thank you for reading along, and happy gaming!
If you liked this post, make sure to subscribe to the TTRPGkids monthly newsletter to stay up to date on the latest reviews, tips and tricks, game and podcast list updates, and more! Thank you for playing tabletop RPGs with your kids and sharing this awesome hobby with the next generation!
1 thought on “Tips and Tricks: DIY TTRPG zines and booklet props”